Build you own vermicomposter
Agnieszka Chołuj
Build you own vermicomposter and observe the underground life of earthworms!
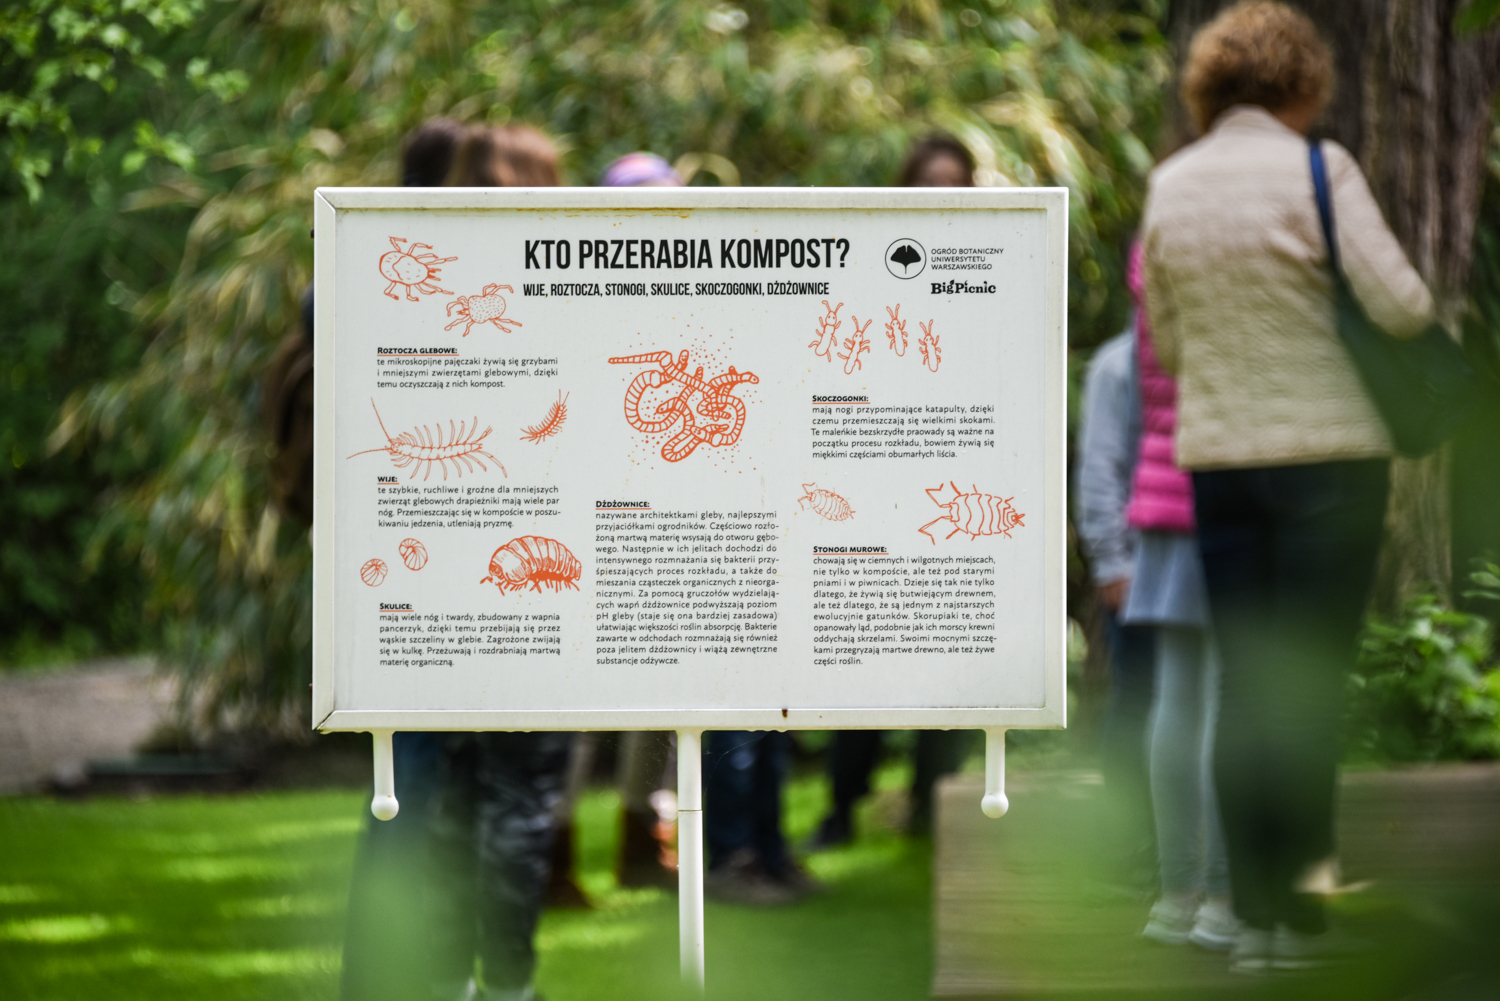
Vermicomposter is a type of compost created by earthworms processing organic leftovers. In nature, earthworms simply live in the ground. Earthworms, of which there are around 30 species, belong to the subclass Oligochaeta. In one cubic meter of earth there can be even 800 of these wondrous invertebrates! Charles Darwin, eminent researcher and discoverer of the process of evolution of living organisms believed that not many animals fulfilled and still fulfil a role as important in the history of the world, as these slimy critters of uncomplicated build. We can find most of them in the earth that is wet and full of organic matter, such as fallen leaves, or dead plant fragments. They also like fields fertilized with manure, i.e. droppings of farm animals – cows or chickens.
Earthworms aerate and fertilize the soil. Even though they are so small, they can break up the earth and corridors they create make it easy for water to permeate, which is then accessible to plants. By boring in the ground, they eat dead remnants of plants, such as leaves or stalks, as well as fungi, protozoa, and nematodes that live in the soil. After the food goes through earthworm’s digestive tract, it is excreted as the co-called vermicast. Earthworm droppings contain a mix of minerals available to plants and good bacteria which liven up the life in the soil. According to the research, within a year, a single earthworm can produce as much as 4,5 kilograms of excretions. Earthworm droppings are better for farm plants – such as vegetables – than artificial powdered fertilizer used by people!
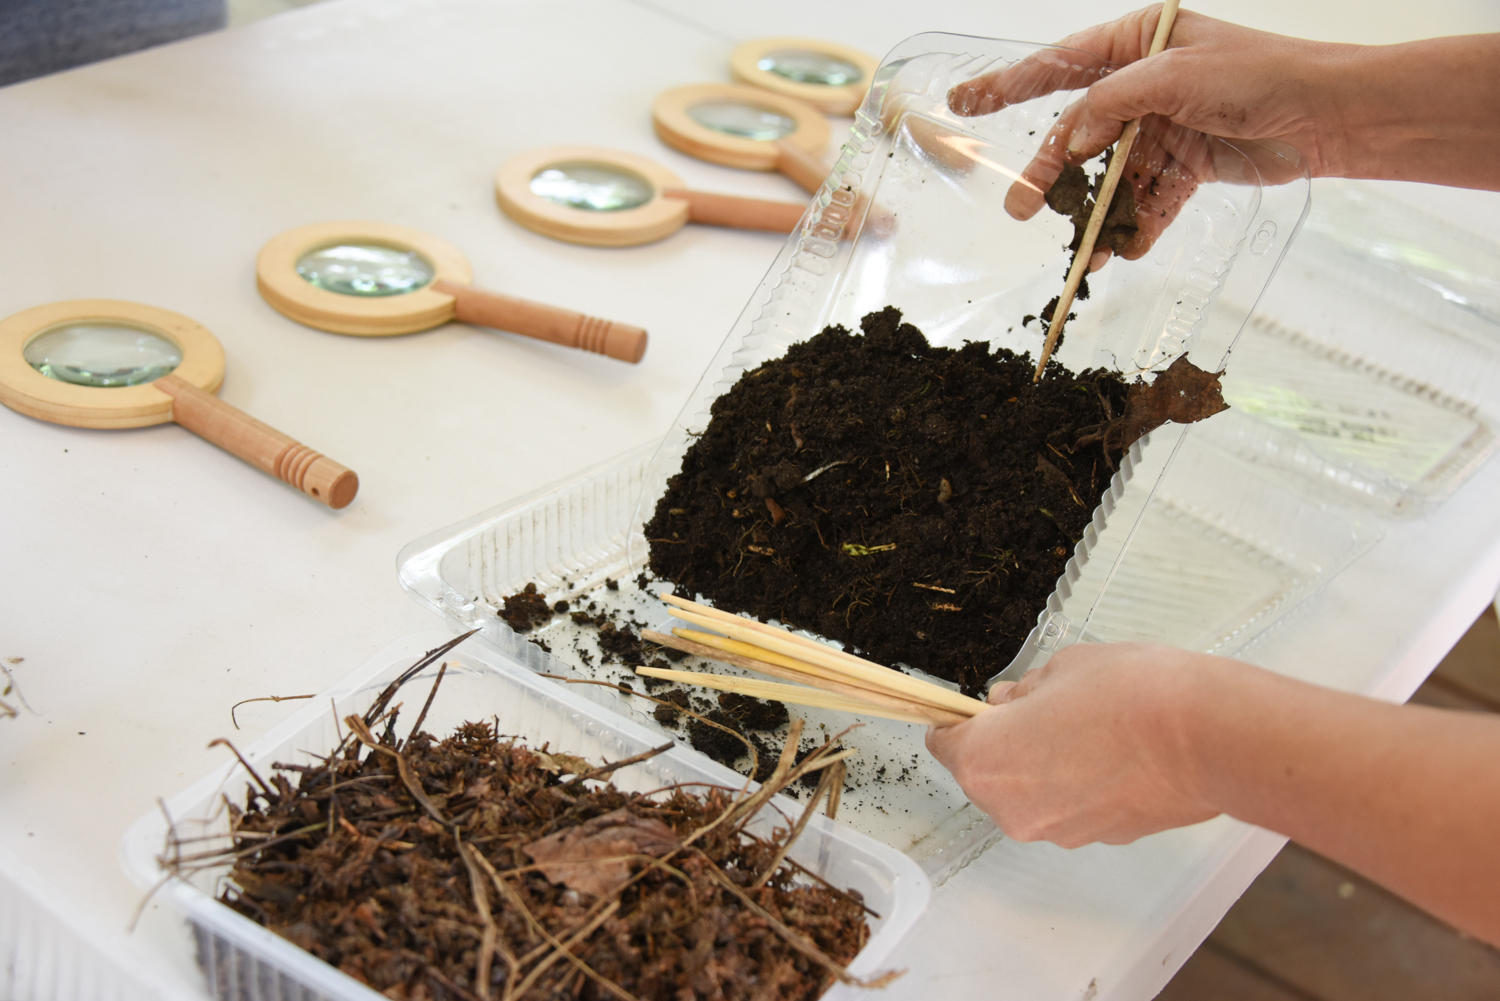
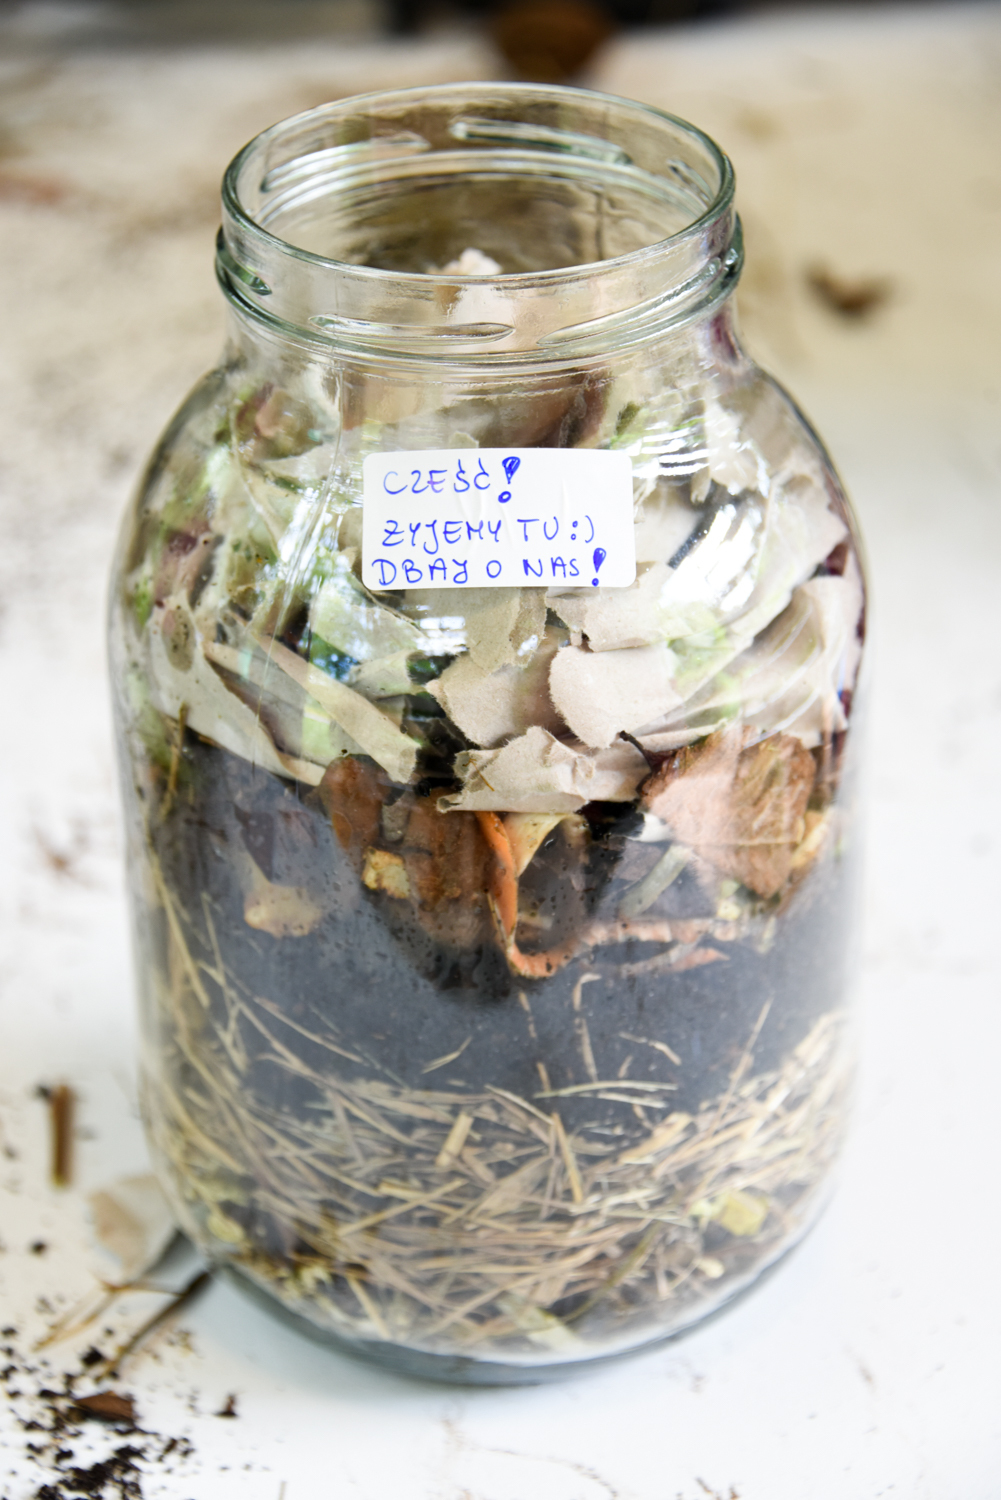
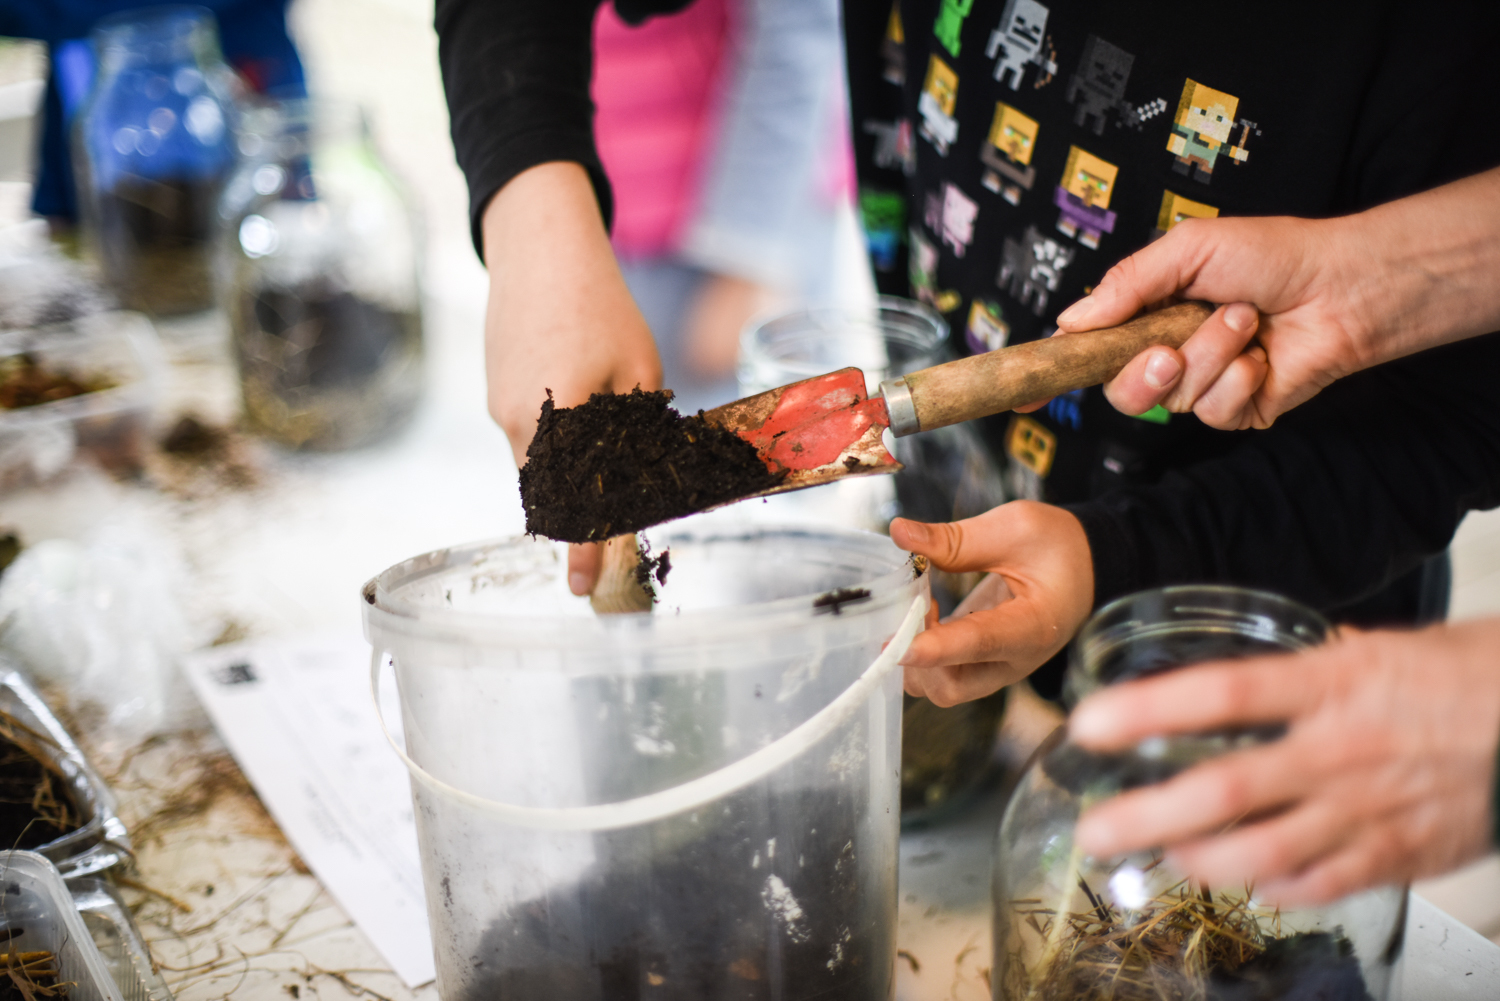
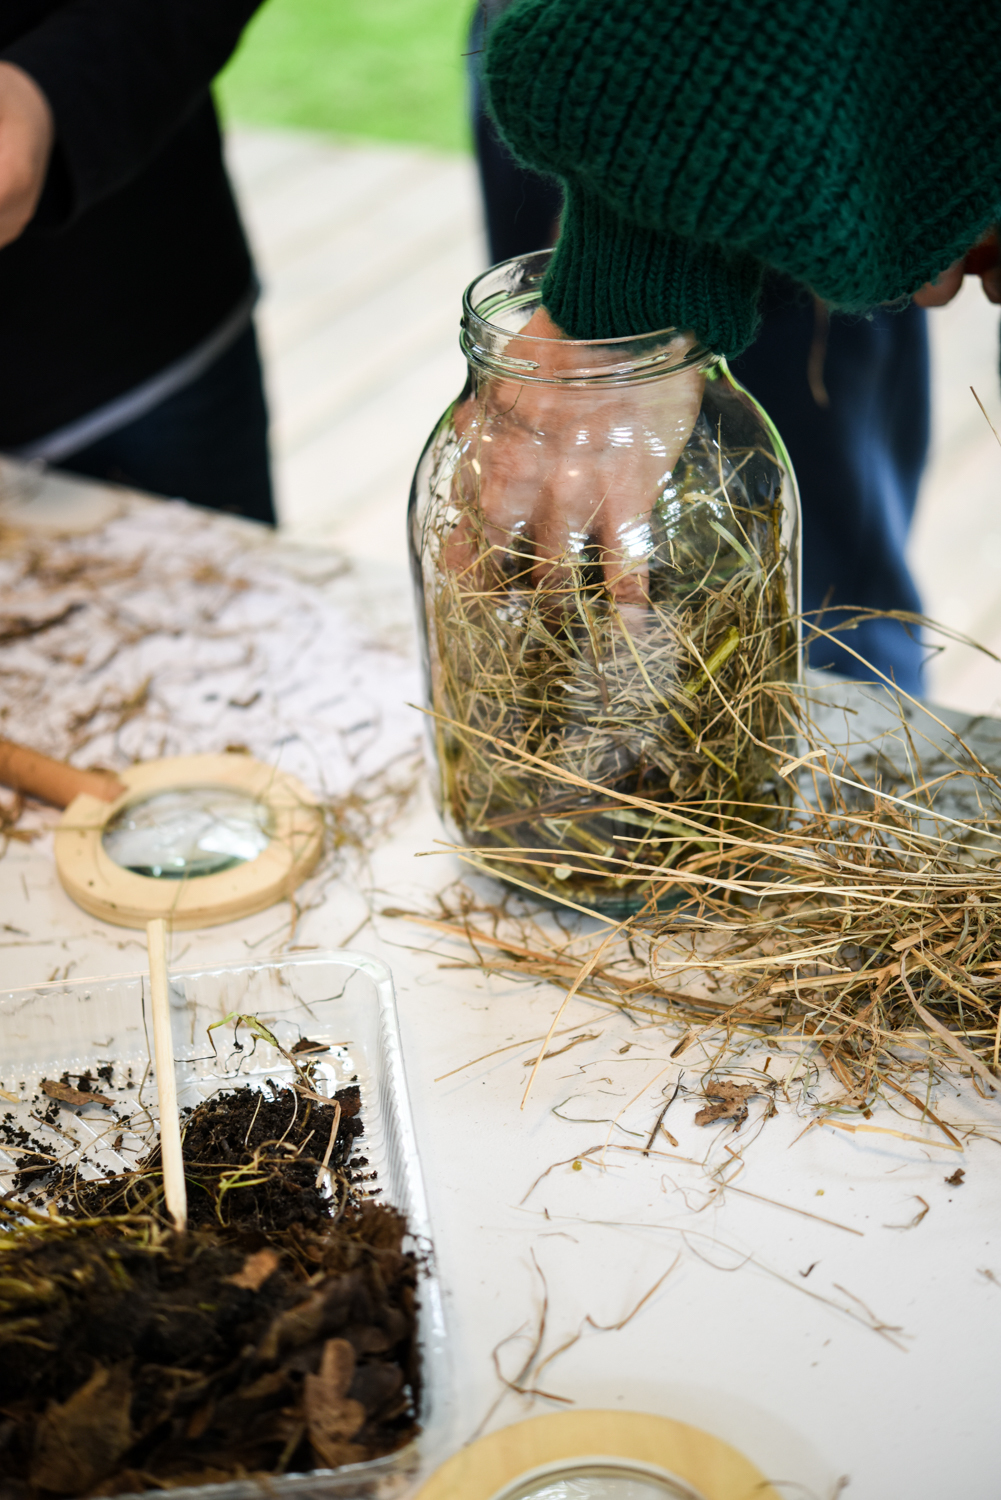
If you would like to peek at the mysterious, underground life of earthworms, you can build them a small house, or vermicomposter! Use a container with transparent walls, such as a small aquarium, a glass jar of at least 2 litres, or even a plastic bottle, at least 1,5 litres, with the neck cut off. It’s a good idea to cover any container with a gauze folded over several times, and secured with a rubber band, or a lid with several holes. In this way you will protect yourself from bothersome flies. Inside the container, on top, place fragments of dry cardboard, dry toilet paper, or brown paper towel. For your vermicomposter, you should always use brown, unbleached paper, as the bleaching process uses chlorine which can have a negative impact on our worms.
You can buy earthworms for observation online, or ask an allotment gardener you know who has their own composter to give you some, or you can go for “a hunt” in a damp place with fertile earth, find them and dig them up yourself! Below you will find a list of layers that should be placed in any comfortable earthworm home.
CONSTRUCTION OF THE LAYERS OF THE EARTHWORM HOUSE:
1. On the bottom, create a layer which will absorb excess water. It could be made from broken up think sticks, or some woodchips, or soaked coconut fibre.
2. Then place a layer of dry plants: hay or straw which you must slightly compress.
HERE WE ADD EARTHWORMS 🙂
3. The third layer should contain mature compost which will be the shelter for the earthworms until they start processing leftover plants in the jar. It will also be the source of fungi, bacteria and protozoa which provide food for the earthworms and also compost (i.e. decompose) organic matter.
4. Then, optionally, you can cover mature compost with a layer of loose sand. This will help us observe the mixing of separate layers in our little house. Everything happens quite slowly, but with each passing day, you will notice that the layer of sand mixes with other materials.
5. Over the sand, put a layer of last year’s leaves – earthworms love them!
6. In the sixth layer you can put small pieces of leftover vegetables, such as kitchen waste: cucumber and carrot peels, or pieces of apple. Don’t use bones, citrus fruit, or leftover bread. These leftovers easily get mouldy and start to smell.
7. As the topmost layer put some waste paper torn into tiny pieces (brown paper, unbleached bardboard, brown toilet paper). The last two layers can be repeated if you notice that in time, the earthworms used them up. Always put some paper at the very top – it will prevent fruit flies from breeding in the jar.
OBSERVATIONS
After several weeks the contents of the jar will become darker – it’s quite normal. Slowly, it will become more and more difficult to distinguish between different layers. Sometimes, for example when it’s dark (you can observe that by looking in at night with a flashlight), you can see how the earthworms move – they wiggle as if stuck to the wall of the jar. You can also see the movement of food inside their bodies. If the earthworms feel comfortable in their house, they will lay eggs in cocoons – from which tiny white earthworms will hatch.
VERY IMPORTANT:
1. Keep the inside of the jar damp, earthworms need a lot of moisture. It’s better if it is too wet than too dry.
2. Keep the jar in a cool and dark place, never leave it exposed to sunlight!
3. If you think that the observation of earthworms no longer fascinates you, be sure to set them free! Find a damp spot with soft earth – it could be a park, or a compost heap in a garden. Empty out the entire contents of the jar. Afterwards you can wash it and use it for something else.